Integration between AI DIAL and Microsoft Copilot
Introduction
AI DIAL is an open platform designed to avoid vendor lock-in, enabling seamless integration with external General AI (GenAI) applications, other AI-enabling systems, custom libraries and frameworks on any cloud or chosen environment. Being an orchestration platform, AI DIAL works alongside other AI-enabling systems to augment and expand their functionalities.
This document provides a detailed guide on how to create a MS Power Platform connector for AI DIAL. This connector can be used in MS Copilot Studio prompt flows, facilitating smooth interaction between the systems for creating comprehensive business solutions.
Watch a demo video to see this integration in action.
There are two authentication types available for AI DIAL:
- API key
- End-user identity (OAuth2)
The chapters in this document will explain the specifics of integration based on the chosen type of authentication.
Limitations
- Users can't send attachments to MS Copilot Studio agents: Although the underlying language model supports attachments, MS Copilot users currently cannot pass them to an agent when making a request, either through the UI or the API. For more details, refer to the MS Copilot Studio documentation.
- MS Copilot Studio does not support image generation or diagramming. For more details, refer to the Microsoft community forum.
Auth with End-user Identity
Prerequisites
- AI DIAL API is exposed to the Internet (required for OAuth2 authentication).
- AI DIAL API application registration in Azure has Application ID URI and at least one scope configured in the Expose API section. AI DIAL Application ID must be known.
- Open API definition YAML file for DIAL API is available.
Step 1: Entra ID Application Registration
Create an Entra ID application registration for the custom connector:
- In Entra ID -> App registrations click New registration.
- Populate Name (leave the remaining fields as is) and click Register.
- Go to Certificates & secrets in the properties of the newly created registration and click New client secret.
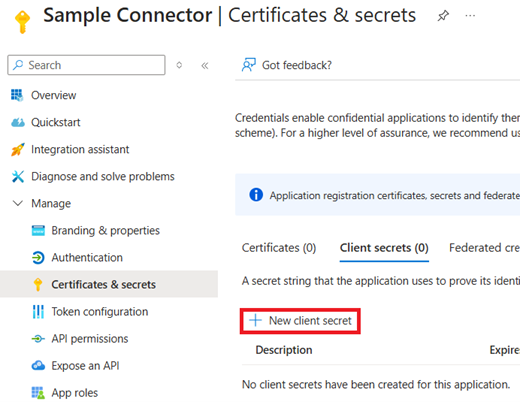
- Provide a Name for the secret and click Add.
- Copy the generated secret value to a secure place, from where it can be subsequently retrieved.
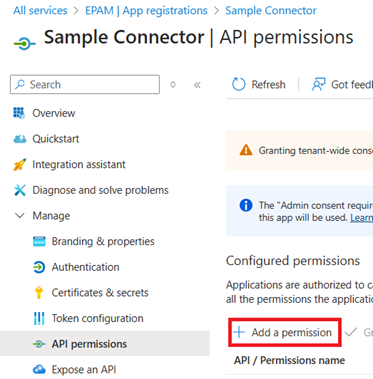
- Got to API permissions in the properties of the newly created registration and click Add a permission.
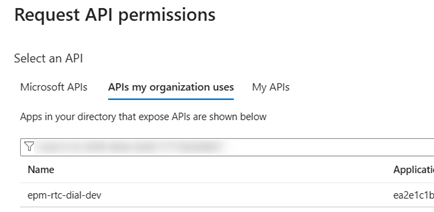
- On the APIs my organization uses tab, find an application registration associated with the AI DIAL API.
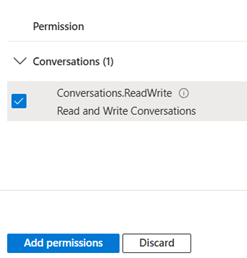
- On the next screen, select all scopes exposed by the AI DIAL application registration and click Add permissions:
Step 2: Create Connector in Copilot Studio
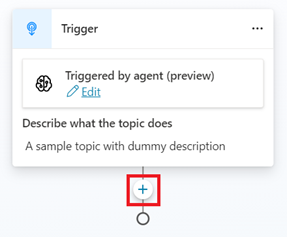
- In the custom topic, where AI DIAL needs to be called, click + and select Call an action and then select Add a plugin action in the Plugin tab.
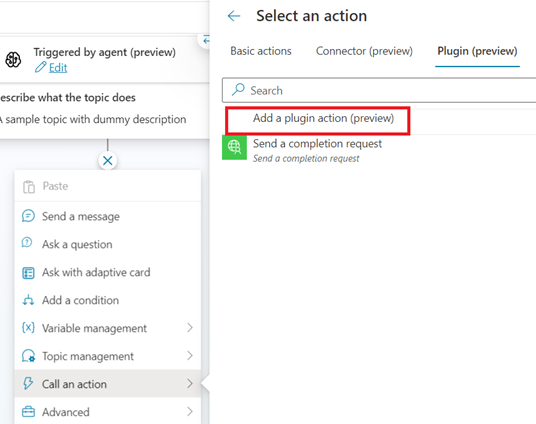
- In the new window, click Custom connector and select Add an API for a custom connector.

- In the new window, at the Upload specification step, select the file containing the DIAL API YAML specification and click Next.
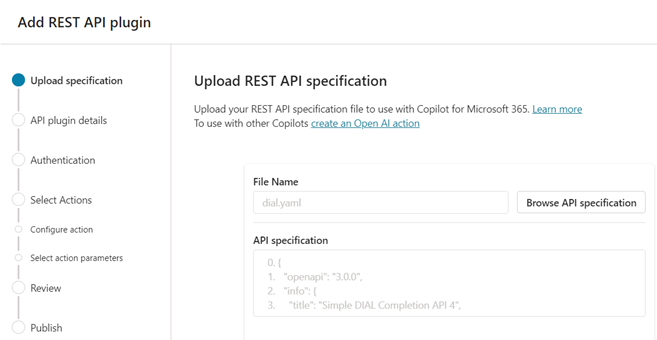
- Populate API plugin details and click Next. If you want to put the new custom connector to an existing Power Platform solution, select this solution in the corresponding field.
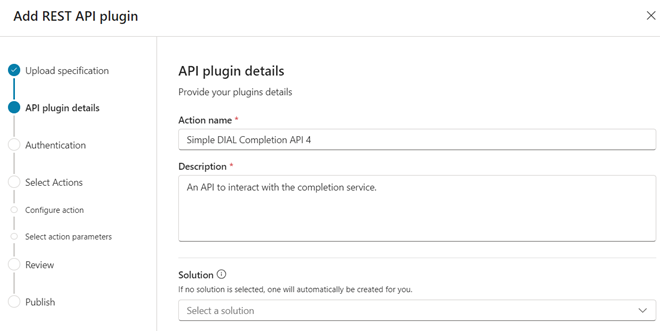
- At the Authentication step, select OAuth (2.0) authentication type and populate the remaining fields according to the following instructions:
- Client ID - the GUID from the Application (client) ID property of the application registration created for this custom connector.
- Client Secret - the secret generated when creating the application registration.
- Authorization URL -
https://login.microsoftonline.com/{tenant}/oauth2/v2.0/authorize, where{tenant}is a placeholder for your Entra ID tenant identifier. - Token URL -
https://login.microsoftonline.com/{tenant}/oauth2/v2.0/token - Refresh URL -
https://login.microsoftonline.com/{tenant}/oauth2/v2.0/token - Scope - openid profile email
offline_access {DIAL Application ID}/.default, where{DIAL Application ID}is the application identifier of the AI DIAL API.
- At the Select Actions step, select the API method you need to call (e.g. completion).
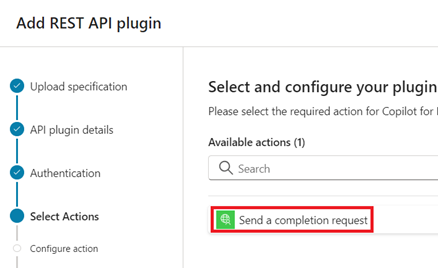
- Populate the action Name and Description.
- Populate description for all input and output parameters.
- Proceed to publish.
- In Copilot Studio, navigate to Solutions and choose the solution that was created when you set up the custom connector. This solution will have the same name as the custom connector.
- Find the custom connector in the selected solution and click on it.
- Copy the redirect URL shown on the custom connector page.

- To proceed, open the Azure Application Registration created in the previous section and navigate to Authentication.
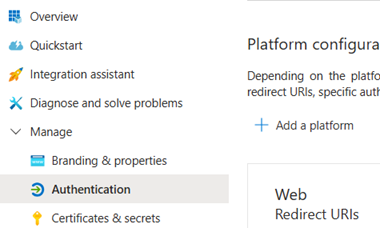
- Click Add platform, select Web, paste the copied Redirect URL, and click Configure.
- The custom connector actions can now be added to the prompt flow within the Copilot Studio topic.
Auth with API Key and DIAL API Exposed to the Internet
Prerequisites
- DIAL API is exposed to the Internet.
- Open API definition YAML file for DIAL API is available.
Create Connector in Copilot Studio
- Perform steps 1-4 from the section Create Connector in Copilot Studio.
- Select API Key authentication type and populate the required fields as shown on the screenshot.
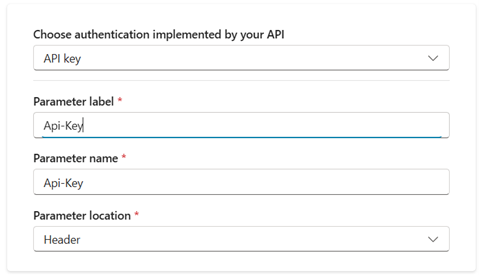
- Perform steps 6-9 from the section Create Connector in Copilot Studio.
Auth with API Key and DIAL API NOT Exposed to the Internet
Prerequisites
- An on-premises data gateway is installed within the on-premises network and DIAL API is reachable from the machine it is installed on.
- Open API definition YAML file for DIAL API is available.
Create Connector in Copilot Studio
-
Patch the Open API definition YAML file for DIAL API to add one more parameter to each method specifying the API Key:
- name: Api-Key
  in: header
  required: true
  schema:
type: string -
Perform steps 1-4 from the section Create Connector in Copilot Studio.
-
Select None authentication type.
-
Perform steps 6-9 from the section Create Connector in Copilot Studio.
-
In Copilot Studio, navigate to Solutions and choose the solution that was created when you set up the custom connector. This solution will have the same name as the custom connector.
-
Find the custom connector in the selected solution and click on it.
-
In the Power Automate page for the selected custom connector click Edit.
-
Set the checkmark Connect via on-premises data gateway in the custom connector properties and update the definition.
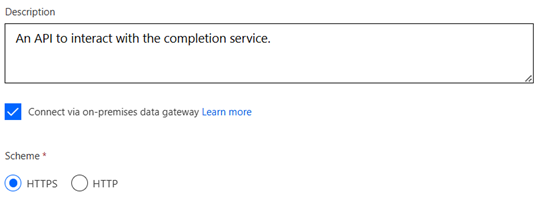
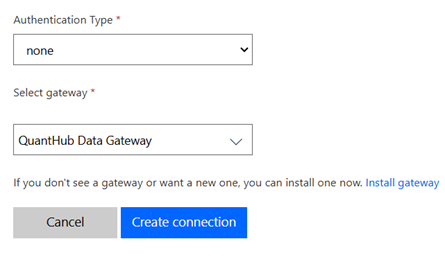
- When creating a connection for further usage, the connector administrator will have to select the on-premise data gateway.
