Data Visualization
Introduction
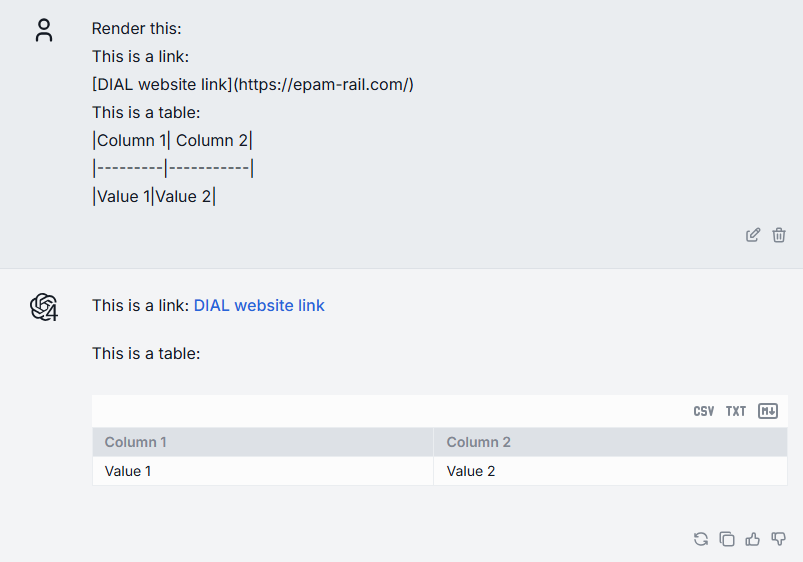
AI DIAL Chat has the capability to render different types of content within a conversation. For example, it has built-in support for Markdown. If the response message from the application includes content in Markdown notation, it will automatically render it in the body of the conversation.
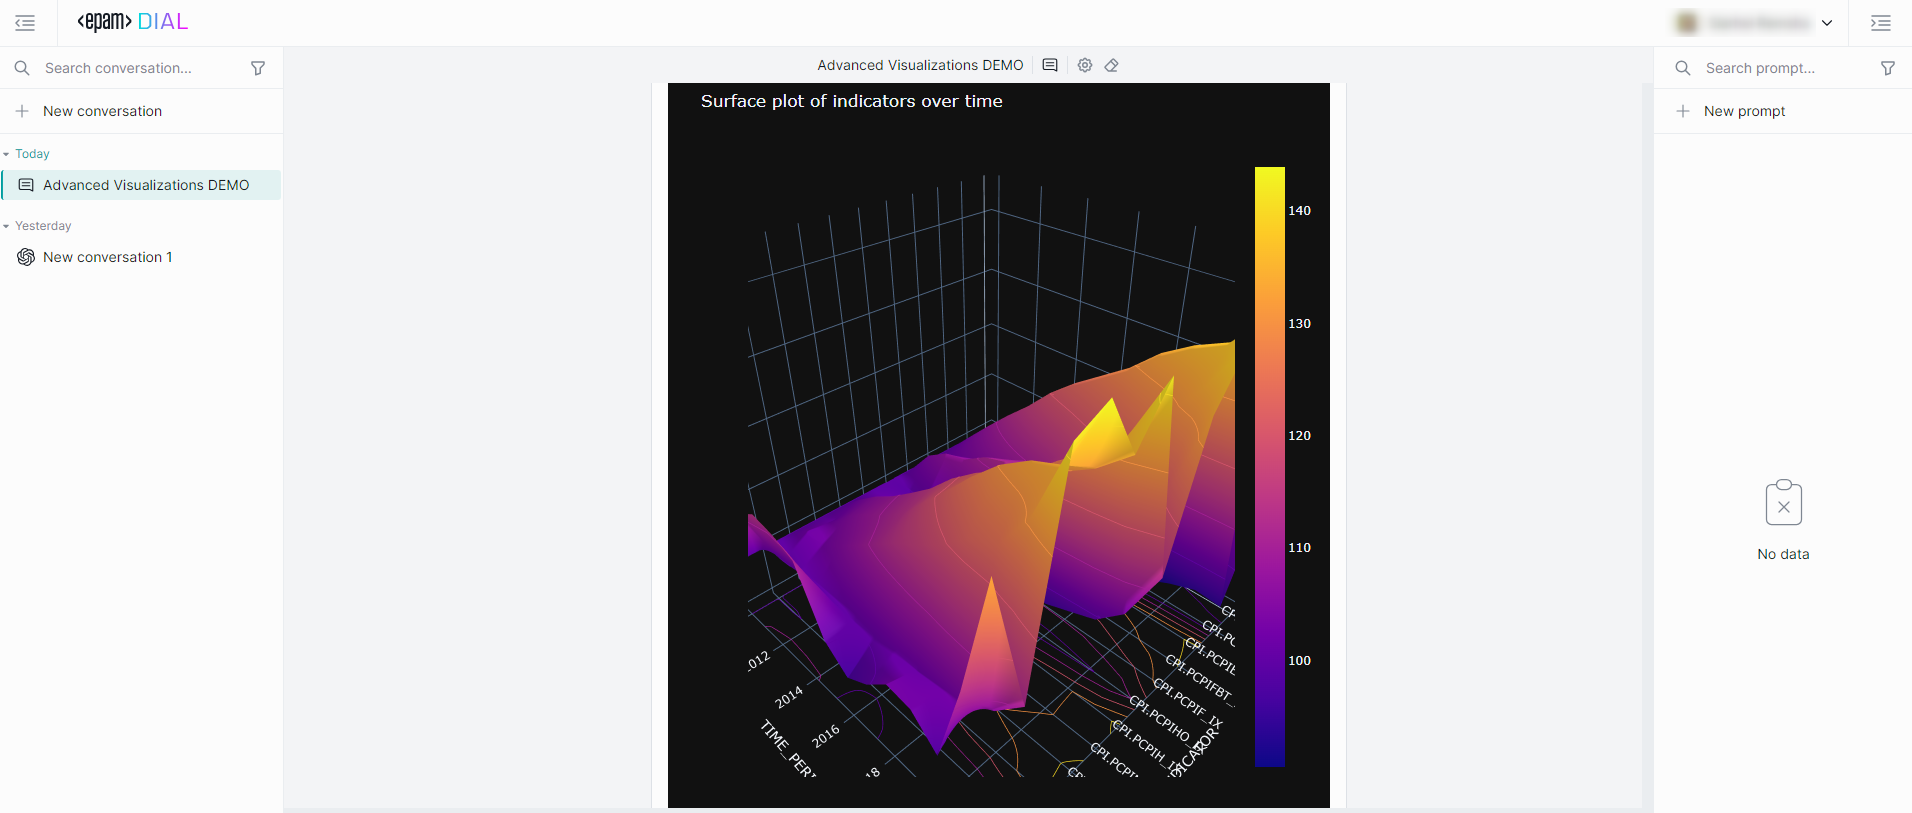
AI DIAL Chat has also a built-in support for Plotly data visualization libraries:
You can use the DIAL SDK to create custom applications that may need to render different types of content in the body of their response in the chat UI.
This can include attachments with documents and images, stages, and other types of data compatible with the MIME standard. Refer to the Custom Content section to learn more.
Watch a demo video to see how statistical data can be visualized in AI DIAL Chat using a Plotly animated scatterplot, or view a demo video of the Omics AI Assistant to see how protein structures can be visualized with Plotly.
Visualizers
We call Visualizers special applications that are used for rendering a specific type of content in AI DIAL Chat UI. You can use DIAL Chat Visualizer Connector library to create your custom visualizers for specific types of content.
Watch a demo video to view how a financial data can be visualized in AI DIAL Chat.
Create Custom Visualizer
Sources are located in the DIAL Chat Visualizer Connector repository.
AI DIAL Chat Configuration
Refer to Configuration to view all parameters and their description.
Configure AI DIAL Chat to enable visualizers:
-
ALLOWED_IFRAME_SOURCES- a list of allowed iframe sources in<source> <source>format. For security reasons, your AI DIAL Chat application should configure the sources where your custom visualizers will be hosted. Note: For development purposes, you can set*.ALLOWED_IFRAME_SOURCES=http://localhost:8000 -
CUSTOM_VISUALIZERS- a list of the objects with custom visualizers properties. This properties are :{ title, description, icon, contentType, url }.interface CustomVisualizer {
title: string;
description: string;
icon: string;
contentType: string;
url: string;
}//AI DIAL Chat configuration example
CUSTOM_VISUALIZERS=[
{
"title":"CUSTOM_VISUALIZER", // Visualizer title
"description": "CUSTOM VISUALIZER to render images", // Short description for the Visualizer
"icon":"data:image/svg+xml;base64,some-base64-image", // Icon for the Visualizer
"contentType":"image/png,image/jpg", // List of MIME types that Visualizer could render separated by ","
"url":"http://localhost:8000" // Visualizer host
},
{
//Other Visualizer
}
] -
ALLOW_VISUALIZER_SEND_MESSAGES- is a flag that allows or disables the addition of custom buttons or input fields. This enables a custom visualizer to sendSEND_MESSAGEevents on behalf of a user in the form of messages within a conversation.
Main Concepts
ChatVisualizerConnector class provides all the necessary methods for a visualizer (rendered in the iframe) to interact with AI DIAL Chat (receive data to visualize).
A model or application should send data in Json-like format which should include a CustomVisualizerDataLayout object with width and height properties. All other properties could be set to anything you need for your visualizer:
export interface CustomVisualizerDataLayout {
  width: number;
  height: number;
}

export interface CustomVisualizerData {
  layout: CustomVisualizerDataLayout;
}
Create Visualizer
-
Install the
ai-dial-chat-visualizer-connectorlibrary:npm i @epam/ai-dial-chat-visualizer-connector -
Add a file to the serving folder in your application, or simply import it in the code:
import { AttachmentData, ChatVisualizerConnector, CustomVisualizerDataLayout } from '@epam/ai-dial-chat-visualizer-connector';-
ChatVisualizerConnector- this class provides methods for the visualizer (rendered in the iframe) to interact with AI DIAL Chat (receive data to visualize). It requires the following arguments:/**
* Params for a ChatVisualizerConnector
* @param dialHost {string} DIAL CHAT host
* @param appName {string} name of the Visualizer same as in config
* @param dataCallback {(visualizerData: AttachmentData) => void} callback to get data that will be used in the Visualizer
*/
//instance example
new ChatVisualizerConnector(dialHost, appName, setData); -
AttachmentData- an interface for the payload you will get from AI DIAL Chat:export interface AttachmentData {
mimeType: string;
visualizerData: CustomVisualizerData;
} -
CustomVisualizerDataLayout- an interface for the layout you will get from AI DIAL Chat.widthandheightproperties are required for a proper rendering in the AI DIAL Chat UI:export interface CustomVisualizerDataLayout {
width: number;
height: number;
}
-
-
Set
dialHostto the AI DIAL Chat host you want to connect with:const dialHost = 'https://hosted-dial-chat-domain.com'; -
Set
appNameto match the value oftitlein the AI DIAL Chat configuration in theCUSTOM_VISUALIZERSenvironmental variable:const appName = 'CUSTOM_VISUALIZER'; -
Create an instance of
ChatVisualizerConnectorin your code://Here you store your data which you get from the DIAL CHAT
const [data, setData] = useState<AttachmentData>();
const chatVisualizerConnector = useRef<ChatVisualizerConnector | null>(null);
useEffect(() => {
if (!chatVisualizerConnector.current && dialHost && appName) {
chatVisualizerConnector.current = new ChatVisualizerConnector(dialHost, appName, setData);
return () => {
chatVisualizerConnector.current?.destroy();
chatVisualizerConnector.current = null;
};
}
}, [appName, dialHost]); -
Send a
READYevent viasendReady()to AI DIAL Chat to inform that your visualizer is ready (this action will hide the loader). Then, you could do some preparation (login, etc.) and, after that, sendREADY TO INTERACTevent viasendReadyToInteract()to inform AI DIAL Chat that the visualizer is ready to receive data:useEffect(() => {
if (appName && dialHost) {
chatVisualizerConnector.current?.sendReady();
//Make some actions if needed
chatVisualizerConnector.current?.sendReadyToInteract();
}
}, [dialHost, appName]); -
Make needed type assertion for the data from AI DIAL Chat. Note: Data send by model/application from DIAL CHAT should be the same type as you expect.
//layout should include width and height properties
interface YourVisualizerLayout extends CustomVisualizerDataLayout {
//any other layout properties expected from the model/application output
}
data.visualizerData as { dataToRender: string; layout: YourVisualizerLayout }; -
Render data in your visualizer:
<div>{typedVisualizerData.dataToRender}</div>
Example
Module.tsx
import { AttachmentData, ChatVisualizerConnector, CustomVisualizerDataLayout } from '@epam/ai-dial-chat-visualizer-connector';


export const Module: FC = () => {
  const [data, setData] = useState<AttachmentData>();

  const chatVisualizerConnector = useRef<ChatVisualizerConnector | null>(
    null
  );

  //DIAL CHAT host
  const dialHost = 'https://hosted-dial-chat-domain.com';

  //Visualizer title. Should be same as in the DIAL CHAT configuration in CUSTOM_VISUALIZERS
  const appName = 'CUSTOM_VISUALIZER';

  useEffect(() => {
    if (!chatVisualizerConnector.current && dialHost && appName) {
      chatVisualizerConnector.current = new ChatVisualizerConnector(
        dialHost,
        appName,
        setData
      );

      return () => {
        chatVisualizerConnector.current?.destroy();
        chatVisualizerConnector.current = null;
      };
    }
  }, [appName, dialHost]);

  useEffect(() => {
    if (appName && dialHost) {
      chatVisualizerConnector.current?.sendReady();
      chatVisualizerConnector.current?.sendReadyToInteract();
    }
  }, [dialHost, appName]);

  const typedVisualizerData = useMemo(() => {
    return (
      data?.visualizerData && (data.visualizerData as unknown as { dataToRender: string; layout: YourVisualizerLayout })
    );
  }, [data?.visualizerData]);

  return (
    <div>
      {!!typedVisualizerData?.dataToRender && (
          <div>
            {typedVisualizerData.dataToRender}
          </div>
      )}
    </div>
  );
};
index.ts
//...other imports
import { Module } from "./Module.tsx";

const root = createRoot(document.getElementById("root"));
root.render(<Module />);